Thursday, March 13, 2025

Finally Producing

Although the tank and the monster created a huge problem and headache for me, we acquired completed all the props we needed and have stared the filming process. 


Unfortunately, by the time we finished all the props, it was around 8:30 PM and my partner had to leave at 8:45 PM. My partner also said that he is unable to meet up again to finish the filming. Because of this we filmed the scenes that he is seen in first and are going to change the way the opening is shot a little so that he is not in any others.

These are the best takes of our unedited footage we filmed so far

We had a tough time trying to get the lighting right as it needed to seem like a dark room but still have enough light to see that there was people there. We tried turning on and off different combinations of lights across the house seeing how much light each of them produced for the camera to see. Eventually we turned off all the lights in the house and used a flashlight on low brightness aimed at the white ceiling, producing the perfect amount of light we were looking for. We also adjusted the exposure of the camera to make it darker than it would've been.

Wednesday, March 12, 2025

Issues

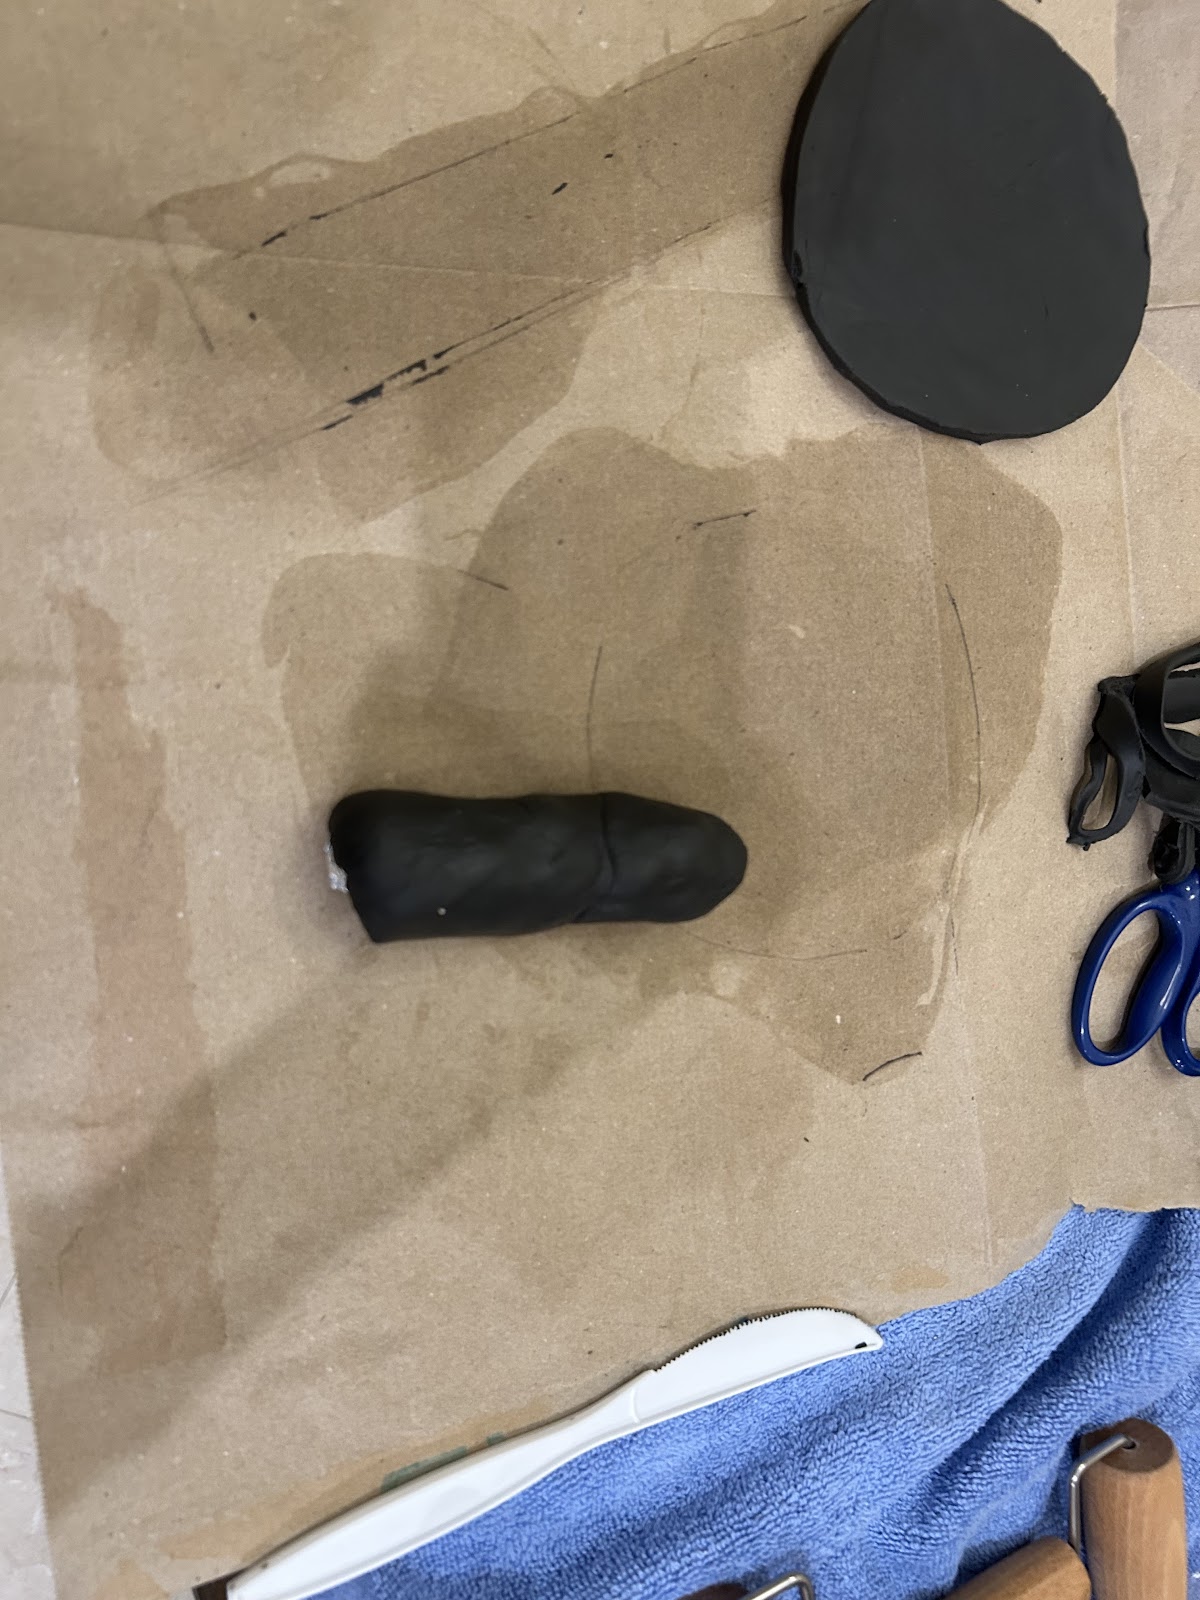
We had some trouble with the monster... it broke. The tail of the stage 4 monster broke off after the baking and clear coating processes. Unfortunately, the clay was completely hardened at this point and couldn't just be reattached.


Solution #1 (fail): My first solution was to use craft glue... it was not a good idea. The glue I used was supposed to set in 1 to 2 HOURS. So we bailed on that idea but it left a residue on the clay.

Solution #2 (fail): My second solution was to use hot glue to try to stick it back on. Unfortunately, I found out that hot glue doesn't not stick to dry clay at all, it could've been because of the residue left by the craft glue. It held for as long as the hot glue was still liquid. Once it dried, the tail fell right back off with a soft thud.

Solution #3 (fail): My next idea was to use more clay as an adhesive. The clay was nowhere near strong enough to hold the tail on by itself. I then tried to use a blow drier to harden the clay buy found out that the hair drier doesn't get anywhere near the temperature the clay needed to harden.


Solution #4 (Success??): My final idea was to use clear tape and put more clay over it to try to hide it. So far it has held and i have sprayed another coat of the clear coat. At this point is being held together by my hopes and dreams.


Tuesday, March 11, 2025

Group Meeting

Today I participated in a group meeting with people producing other projects. In this group meeting there where 5 people including me. In the group there was Leela Mohan (Pearly Whites), Fabiana - (Interloo), Clemence Frey - (Turbulence), Becherucci - (Air Ball), and me - (Titan). 


During the  meeting we discussed what are projects were about (the name, the genre, and the general storyline), how far along we were in our projects, and any problems we were having. The problem that I mentioned having was that the monster being made out of clay took away from the monster feel. The proposed solution was to add more detail such as, adding the bone structures to the monster to make it feel more lifelike. Unfortunately, my partner and I are not skilled enough with clay sculpting to pull off such a feat. We then discussed the problem even more and decided that the clear coat idea was the best one because it would take the clay look away while still being relatively easy to pull off. Thankfully, we didn't have many other problems that needed to be solved. Overall, this meeting was productive in getting feedback on how to fix the clay problem.

Saturday, March 8, 2025

Change in Plot/Script

Unfortunately, I was unable to obtain the military general's military fatigue outfit for the General Adil character. After trying to find various solutions, I finally realized that he was not a necessary character for the opening of the film. With this realization, I consulted with my partner and we agreed that we can get rid of the character all together and just adjust the script accordingly. We also had to change the script because after review we realized that we were way to ambitious and creative. We aren't able to pull of most of the things in the original script.

Thursday, March 6, 2025

Constumes

 For the costumes, we need two white laboratory coats and one military general's military fatigue. In a previous post I mentioned that my mom was able to sew a the fabric from a few pillow sheets into two lab coats. Unfortunately, the stitches didn't hold up and started falling apart as I was trying them on. So that was bust. For the military general's military fatigue, the most I found on amazon or other costume shores were around $30, way above my budget. I also couldn't find any of the needed costumes at any thrift stores around me. Thankfully, one of my uncles is a retired doctor and had two white lab coats that he said I could borrow. So we got the coats now, but they have stitched in logos that he wants us to cover up. So we plan on using name pins to cover it.


For the military fatigue, I will keep looking at thrift stores to see if I can find one and ask around to see if anybody has one I could borrow.

Tuesday, March 4, 2025

Monster models

It's time to think of the main attraction to the film, the monster. First, I drew out the general plan for the monster in the tank that I made in the my previous blog post. Then, I made initial models for what the monster will look like. I will finalize what the monster will look like once we determine what the final tank is.


Stage 1:

Monster is still just a liquid in the bottom of the tank. This is before any tests are run on it and is completely docile.


Stage 2:

The pool of liquid sprouts upwards but no features are created yet. The monster still remains completely docile.


Stage 3:

The monsters sprout grows in size and sprouts small stubby arms. No head or any other features are made out. The monster continues to remain docile.


Stage 4:

The monster grows again with the arms getting longer. The monsters head starts to gain shape as the monsters begins to move its arms. The monster shows small signs of aggression at this point.


Stage 5:

The monster is grown once again and the head is complete. The arms and legs gain an eerily long length and the monster is extremely aggressive.


I know the monster doesn't look the best right now and looks just like clay. But once we finalize the rest of the props, I will add more detail. We will also spray the monster with a clear coat of paint to make it shiny, hopefully removing that clay look.

Monday, March 3, 2025

Double-Walled Tank

After mentioning it many times in my previous blog postings, I have finally made the double-walled tank, although a little differently than originally planned. With the first try being a bust and me not have the funds to buy more plastic sheets for more attempts, I had to find objects or materials lying around the house that I could use as substitutions. I looked for a while until I went into the storage closest in the attic. Inside, I found a old vase that had originally been holding a bouquet of tulips two valentines ago and a small clear plastic trash can.


The two objects will serve as substitutes for the two walls. The trash can being bigger with an 8.5 inch diameter, will act as the outer wall with the 6 inch diameter flower vase as the inner wall. The two fit nicely together with about a 1.25 inch space in between the two. Because the inner flower vase displaces water it acted as a boat and wouldn't stay at the bottom of the trash can. It was displacing so much water that I struggled for a while trying to put things inside heavy enough to way it down. I then tried another method of gluing the two together. For the adhesive, I used hot glue because it isn't water soluble. Unfortunately, the glue doesn't stick well to the glass and would separate once water was added. We are going to try to use another adhesive to see if it works better, and if not, we might have to modify the idea. The modified idea is to use dry ice and colored lights to add a cool looking effect inside the tank. This is also cost effective since dry ice is sold for about $1.62/lb. around me and I would only need a pound for this project.


Links to Final Film Opening And CCR's

Links to final complete Film Opening: Links to Creative Critical Review: